Phase 1: Choosing a DBMS
If you’re reading this article, you most likely have already known a few popular example of DBMS or Database Management System like MySQL, MS-SQL, PostgreSQL, or even the NoSQL one like MongoDB or Redis.
A database-management system (DBMS) is a computer-software application that interacts with end-users, other applications, and the database itself to capture and analyze data. A general-purpose DBMS allows the definition, creation, querying, update, and administration of databases. — Wikipedia
Choosing a DBMS is a topic of its own, but we have chosen to use PostgreSQL considering a few things:
- It’s always nice to have a reliable relation between our documents
- PostgreSQL has been proven to be powerful and work nicely in production
- PostgreSQL supports many data structures
- Our school used this DBMS for our Database class
So there we have it, we chose PostgreSQL to help us store data.
Phase 2: Choosing which ORM to use (or not use)
An ORM or Object-relational mapping helps us to write code instead of raw SQL query to interact with our database. You don’t actually need an ORM to use a database for your project, but we decided to use an ORM to abstract away our interaction with the database.
Having chosen to write our project in Typescript and PostgreSQL as our DBMS, we decided to find an ORM with first-class support for Typescript’s typing system. Eventually we stumbled upon TypeORM and chose it as our preferred ORM.
Configuring TypeORM is as easy as installing it through npm and creating an ormconfig.json file to configure the ORM. The documentation also helped us a lot in configuring the ORM.
Phase 3: Writing a Model
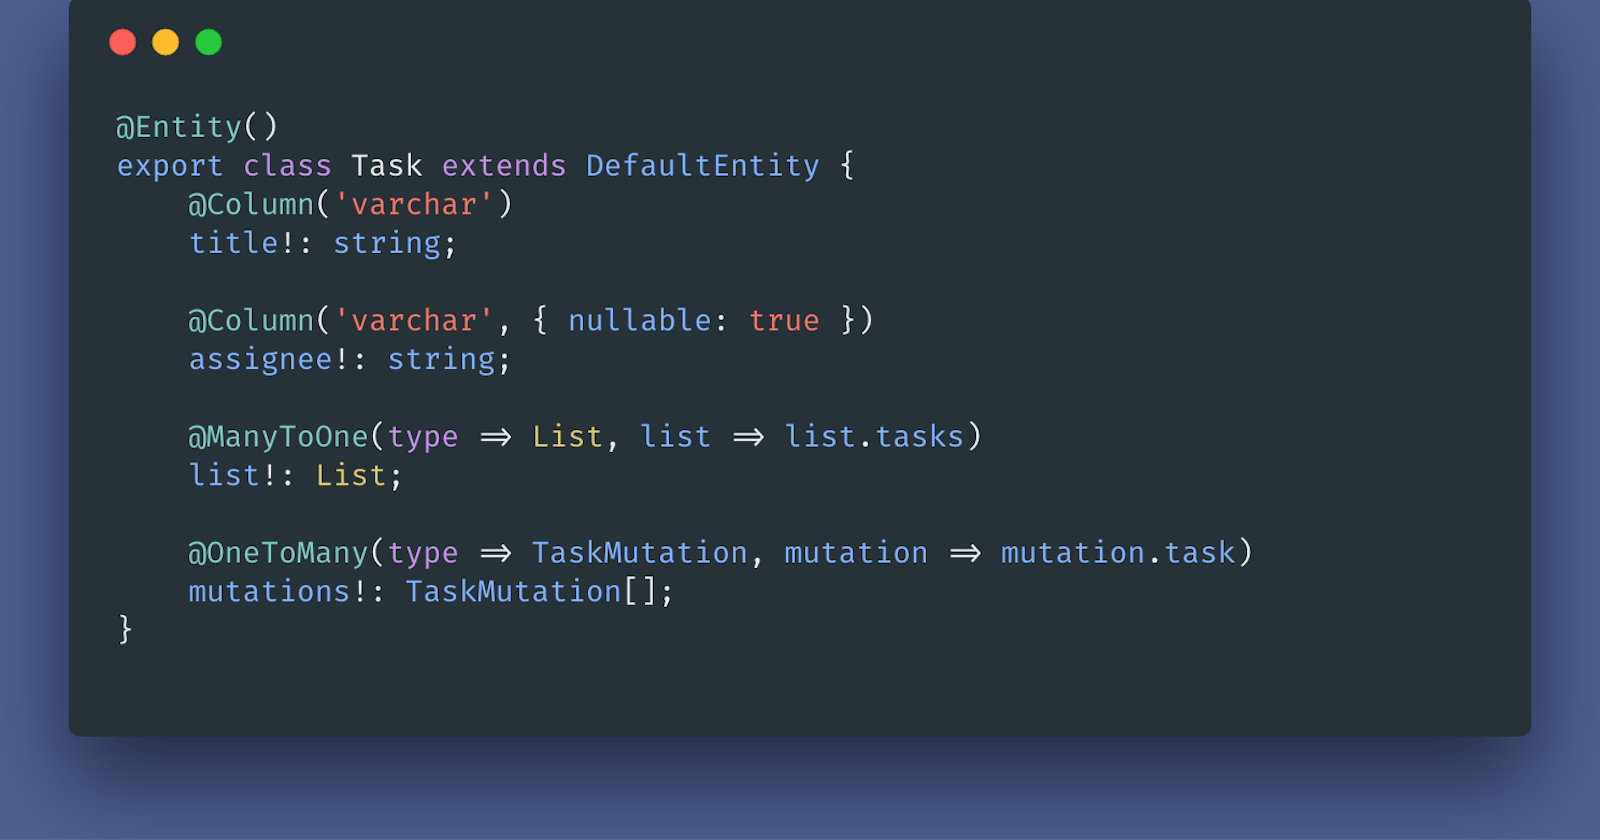
Having configured TypeORM, the next step is to create a model or schema. As PostgreSQL is an RDBMS, this is needed to define our table structure and relationship. Let’s create a sample table with a many-to-one relationship, List and Task, think of it like in Trello. In TypeORM, however these are called entities:
// List.ts
import { Entity, Column, ManyToOne, OneToMany } from 'typeorm';
import { BaseEntity } from './BaseEntity';
import { Project } from './Project';
import { Task } from './Task';

@Entity()
export class List extends BaseEntity {
    @Column('varchar') name!: string;

    @ManyToOne(type => Project, project => project.lists)
    project!: Project;

    @OneToMany(type => Task, task => task.list)
    tasks!: Task[];
}
// Task.ts

import { Entity, Column, ManyToOne, OneToMany } from 'typeorm';
import { BaseEntity } from './BaseEntity';
import { List } from './List';
import { TaskMutation } from './TaskMutation';

@Entity()
export class Task extends BaseEntity {
    @Column('varchar') title!: string;

    @Column('varchar', { nullable: true })
    assignee!: string;

    @ManyToOne(type => List, list => list.tasks)
    list!: List;

    @OneToMany(type => TaskMutation, mutation => mutation.task)
    mutations!: TaskMutation[];
}
Just ignore the Project entity for now, as we will focus with these two entities. The first rule is that every entity is annotated (decorated) with **Entity()**, for example, the entity List will create a table named list in the database. Other than that, an entity is just a seemingly normal Javascript Object.
Then comes the properties. These are annotated with **Column()**and have a type of their own, for example, assignee is a string (specifically a varchar in PostgreSQL). We can set some options like nullable and the default entry.
The last thing to mention is the relationship. We define them by creating a property to contain the relation and annotate them with OneToMany, ManyToOne, or even OneToOne and ManyToMany, according to the type of the relationship. Then we define the other entity and its corresponding relation property in the arguments.
Phase 4: Generating (or writing) a Migration File
With a relational DBMS, we need to track the changes in our database schema. One way to achieve this is to have a migration file for every change we introduce to our schema. Luckily, TypeORM could easily generate these migration files for us with a simple command:
typeorm migrations:generate -n {YourMigrationName}</span>
Then you can just type the corresponding run migration command when you need to migrate the current schema to a newer schema:
typeorm migrations:run</span>
Phase 5: Integrating with your CI/CD workflow
We use GitLab CI for our CI/CD workflow, so integrating the database to our workflow is definitely a plus. We just need to create a PostgreSQL service in our CI to have it available to our CI environment (we use it to test things with Jest). These setup is so easy, just edit your gitlab-ci.yml and add these lines:
services:
  - postgres:latest

variables:
  POSTGRES_DB: test
  POSTGRES_USER: test
  POSTGRES_PASSWORD: test
And then we can access it withpostgres as our host: postgres://test:test@postgres:5432/test.
Phase 6: Deployment! 🚀
The final phase for us to do is to deploy these shiny new things to our environment. We have Heroku as our test, development, and production environment. Luckily, setting up a PostgreSQL database is easy and free in Heroku with Heroku Postgres add-ons. After we enable it in our setting, we have access to the connection URI in the DATABASE_URL environment variable, yay!
Below is our final ormconfig.js we use in production, notice that we also customize our configuration in different environment:
const CI_DATABASE_URL = 'postgres://test:test@postgres:5432/test';

const base = {
  type: 'postgres',
  url: process.env.DATABASE_URL,
  schema: 'public',
  synchronize: false,
  logging: false,
  entities: ['src/entity/*.ts'],
  migrations: ['src/migration/*.ts'],
  subscribers: ['src/subscriber/*.ts'],
  cli: {
    entitiesDir: 'src/entity',
    migrationsDir: 'src/migration',
    subscribersDir: 'src/subscriber'
  },
  migrationsRun: true
};

const config = {
  test: {
    url: process.env.CI ? CI_DATABASE_URL : process.env.DATABASE_TEST_URL,
    dropSchema: true
  },
  development: {},
  production: {
    dropSchema: false
  }
};

module.exports = process.env.CI
  ? { ...base, ...config['test'] }
  : { ...base, ...config[process.env.NODE_ENV || 'development'] };

